
Designing and Publishing a Tracking Page
With the Seven Senders Portal, you can easily create and customize a responsive tracking page to proactively inform your customers about the current status of their orders. This article explains how to create a tracking page and how to integrate it into your webshop. Once created, you will receive a dedicated URL to an externally hosted tracking page that reflects your brand’s look and feel. If you prefer to integrate the tracking component directly into your shop layout, please refer to the article about embedding your tracking widget instead.
Creating Your First Tracking Page
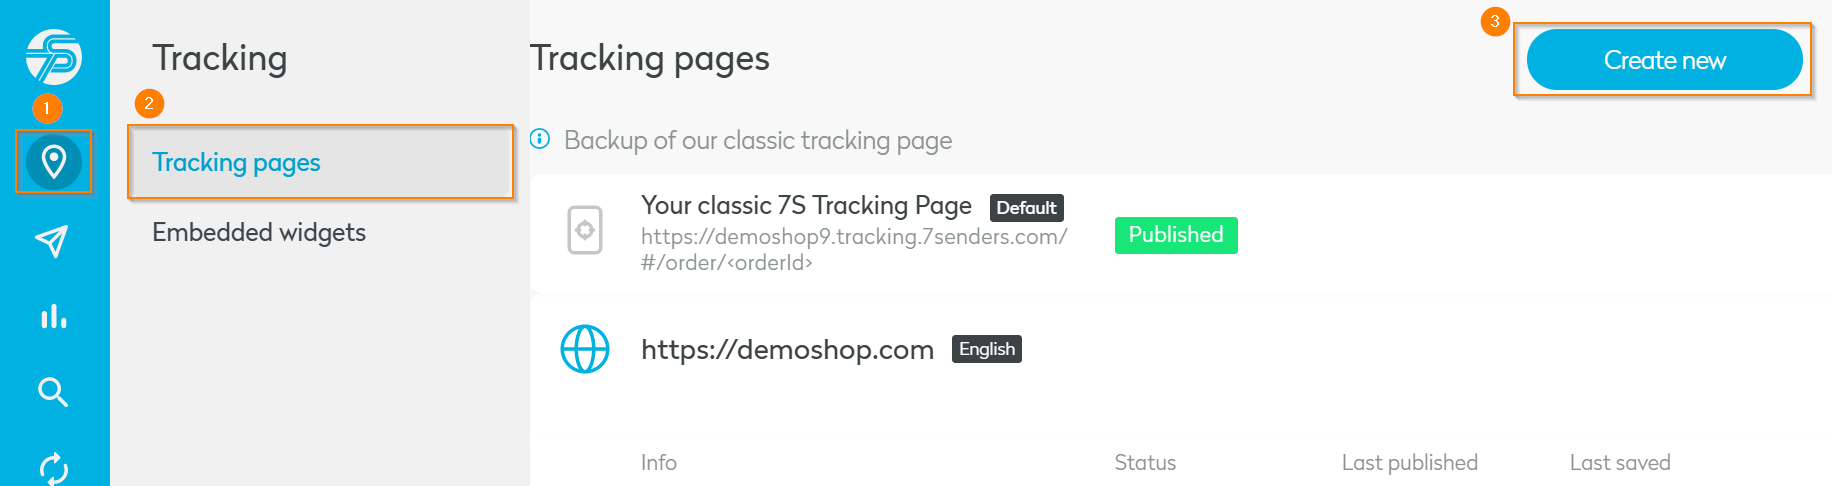
To create a tracking page, navigate to the Tracking section in the left-hand navigation bar. There, you will find the options Tracking Pages and Embedded Widgets. Select Tracking Pages. If no tracking page has been created yet, you will see a Create New button in the top-right corner. Click it to proceed.
Next, select the localization for your tracking page. Make sure to choose the language that matches your customers’ preferences. Further information about shop localizations can be found in the respective article.
After selecting the localization, click Next, assign a name to your tracking page, and click Create My Tracking Page. The name is internal and will not be visible to customers.
Adding and Customizing Widgets
Each tracking page consists of modular components called widgets, which can be found in the left sidebar under the Widgets tab.
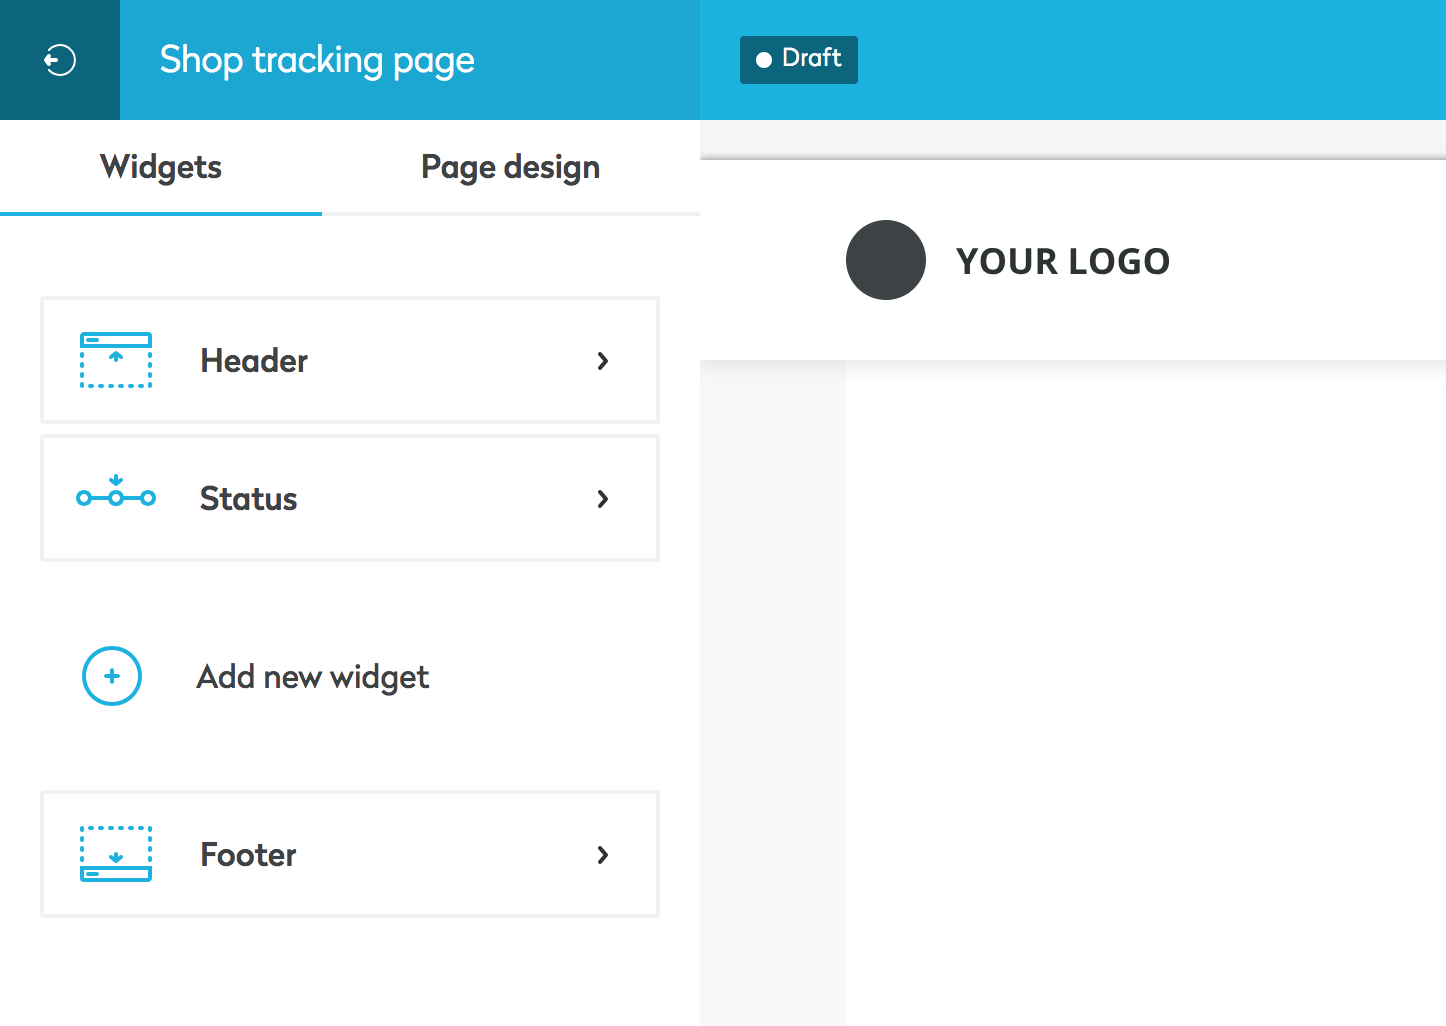
To adjust the settings of a widget, simply click on it. To return to the widget overview, click the < icon in the top-left corner. You can add additional widgets by selecting Add New Widget in the same menu. Widgets can be reordered by dragging and dropping them into the desired position. To remove a widget, open its settings and click Remove Widget. Please note that the Header, Status, and Footer widgets are included by default and cannot be removed or repositioned.
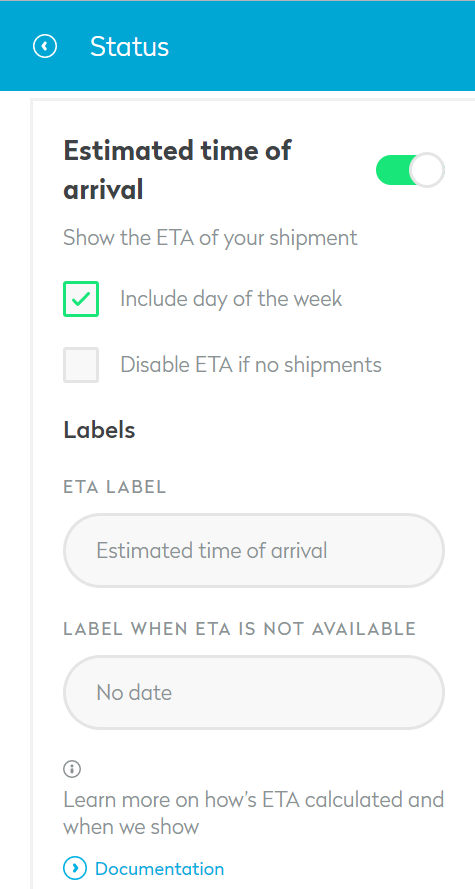
Estimated Time of Arrival (ETA)
The Estimated Time of Arrival (ETA) can be displayed on the tracking page (see screenshot below). The ETA can be enabled or disabled in the Status section.
How Is the ETA Calculated?
If an order is created in the Seven Senders Portal and includes a Promised Delivery Date, this date will be displayed as the ETA. Once a related shipment is created and a First Hub Scan has occurred, the ETA is calculated as:
ETA = First Hub Scan Date + SLA Days
The SLA Days correspond to the Service Level Agreement configured for the respective carrier in your shop settings.
In other words, the ETA is based on the timestamp of the first hub scan event plus the predefined SLA days for the carrier. If Service Level Agreements have not yet been configured, please refer to the article on Managing Service Level Agreements.
No ETA Will Be Displayed If:
- No Promised Delivery Date is defined and no shipment with a First Hub Scan exists
- No SLAs have been configured in the Service Level Agreement section
- The calculated ETA date is in the past
Styling Options
All styling configurations are available under the Page Design tab.
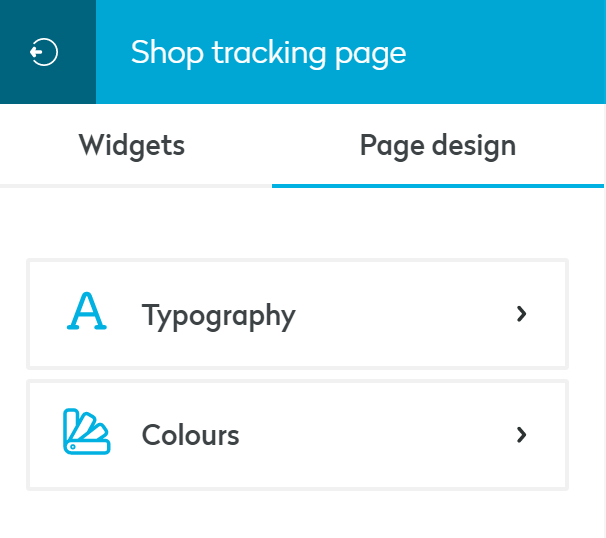
Here, you can define:
- Font types
- Font sizes
- Colors for all visible elements
This ensures your tracking page fully aligns with your brand identity. The Seven Senders Portal supports the following Google Fonts:
- Roboto
- Open Sans
- Lato
- Montserrat
- Roboto Condensed
- Source Sans Pro
- Oswald
- Raleway
- Merriweather
- PT Sans
- Roboto Slab
- Noto Sans
- Poppins
- Ubuntu
Customizing Order and Shipment Statuses
If you would like to modify the default messages displayed for order or shipment statuses, including the timeline, you can do so via the Event & Content Library. You can create fully customized messages and adapt them to any supported language. Below you can find a common example:
Default Message:
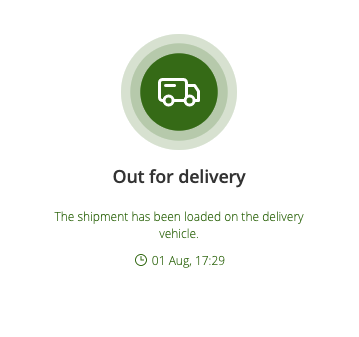
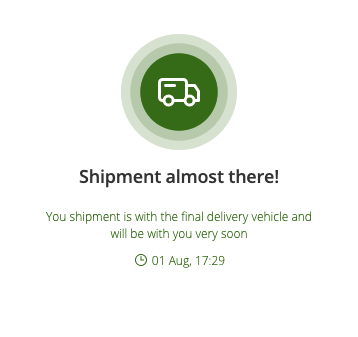
Customized Message
How to Create a Customized Message
- Navigate to Event & Content Library in the side menu
- Select the desired language (top right)
- Locate the event you want to customize
- Click Edit
- Update the message and click Save
To revert back to the default message, click Reset to Default.
Publishing Your Tracking Page
Until published, your tracking page remains in draft mode. When you are ready to make it live, click the Publish button in the top-right corner.
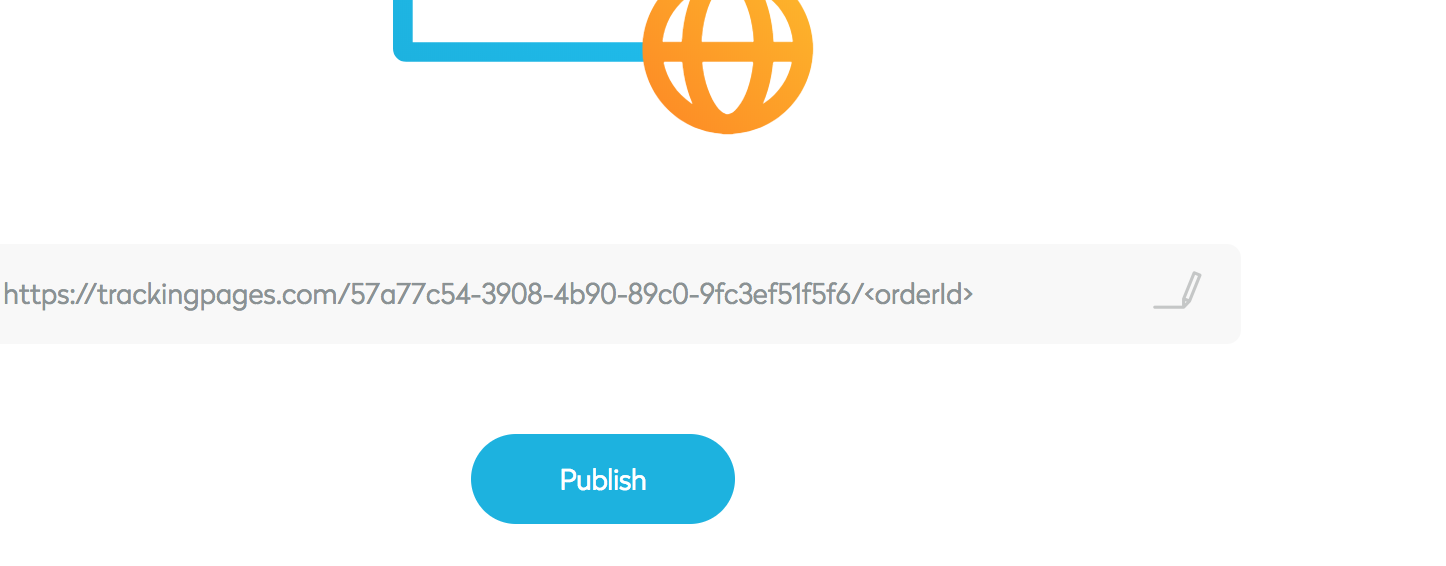
After publishing, implement the tracking page URL in your webshop and/or order and shipment confirmation emails. Replace orderId in the URL with a dynamic placeholder that inserts the respective order number. If you are using Seven Senders Portal Notifications, insert the dynamic placeholder TrackingPageUrl into your email template. This will automatically generate the correct tracking page link.
Further details about dynamic placeholders can be found in the respective article.
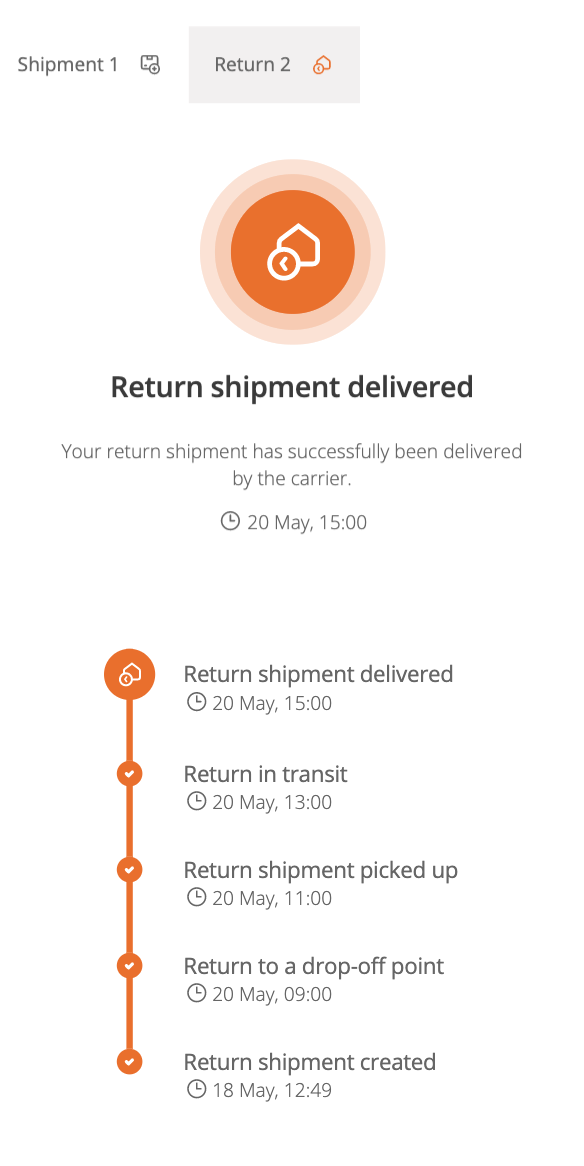
Return Tracking Pages
Seven Senders Tracking Pages also support return shipments. Since return shipments are stored under the same order ID, the tracking page automatically updates once a return shipment is created. The return parcel will appear as an additional tab next to outbound shipments and includes its own timeline and return-specific statuses.
Please note: The event “Returned to Warehouse” will only be displayed if it is triggered via API call by the shop or if a dedicated trigger has been configured in the Seven Senders Portal backend by our team (available upon request). Otherwise, the event remains hidden to avoid customer confusion.
Updated about 4 hours ago